
1. Click "Download" below to get print driver.
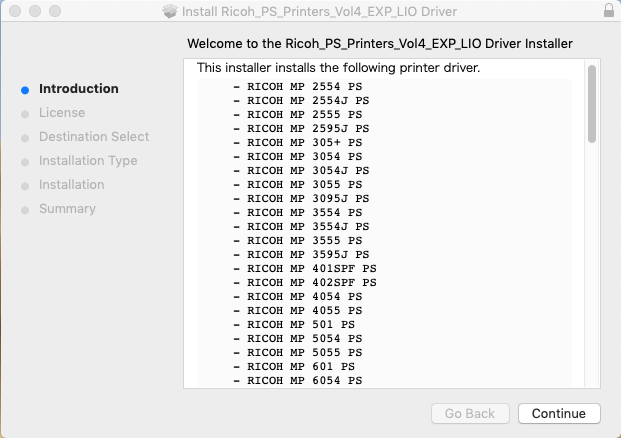
2. Run it and click "Continue"
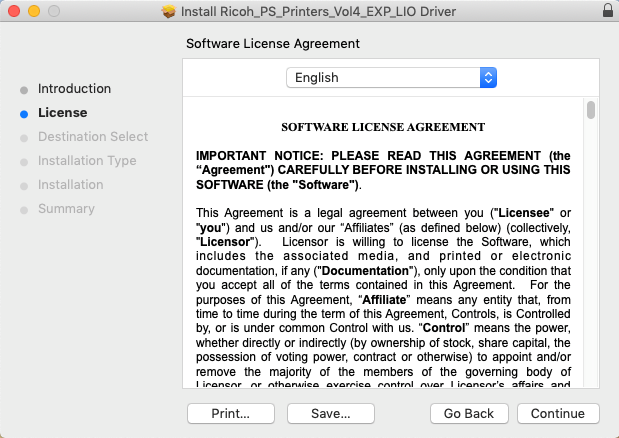
3. Click "Continue"
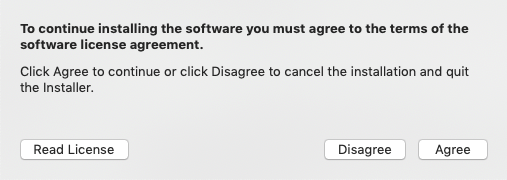
4. Click "Agree"
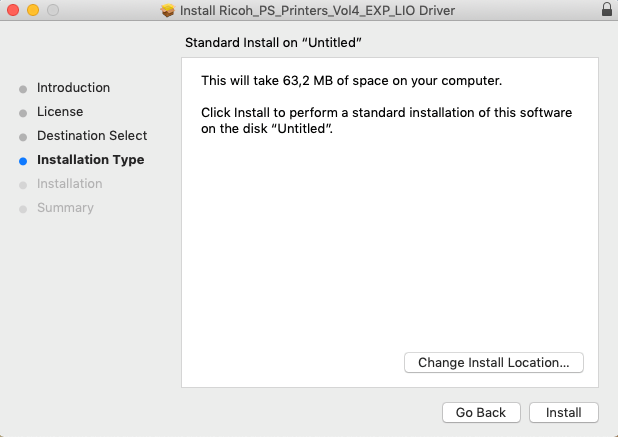
5. Click "Install"
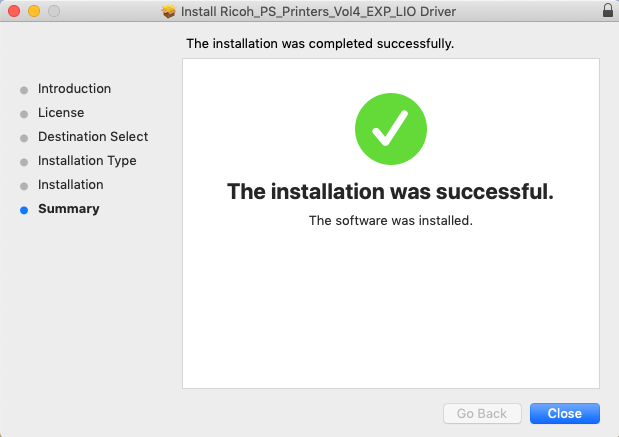
6. Click "Close"
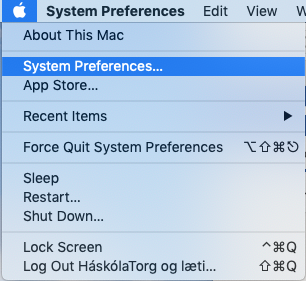
7. Click apple in upper left corner and "System Preferences"
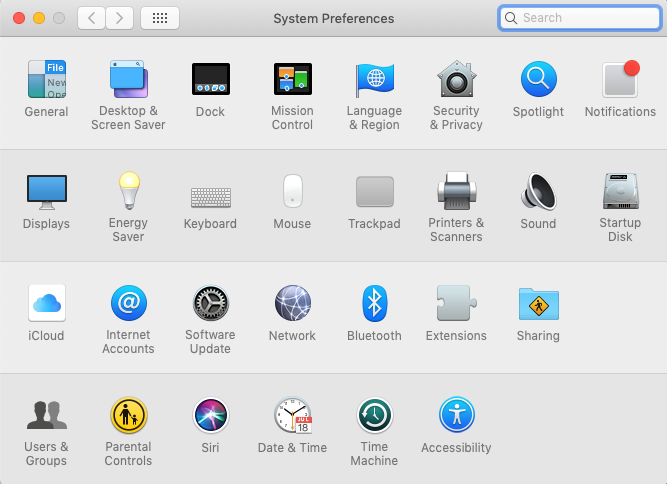
8. Open "Printers & Scanners"
9. Click on the plus sign at the bottom left of the window or "Add Printer..." (depending on which version of MacOS you have).
MacOS older then 13: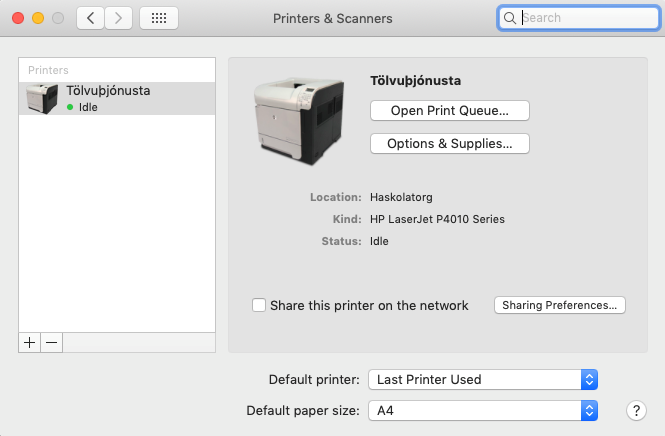
MacOS 13 Ventura:
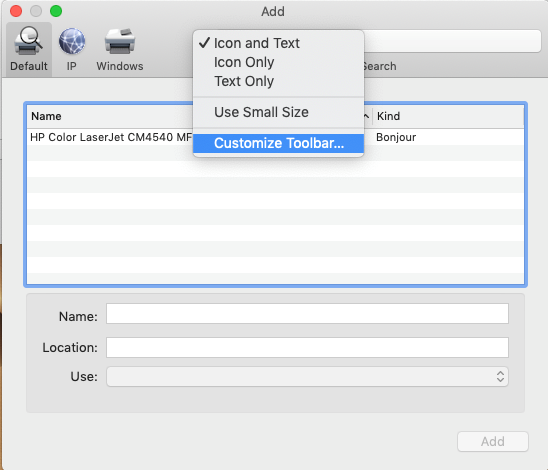
10. Right click the menu bar (might need to hold in Ctrl) and choose "Customize Toolbar"
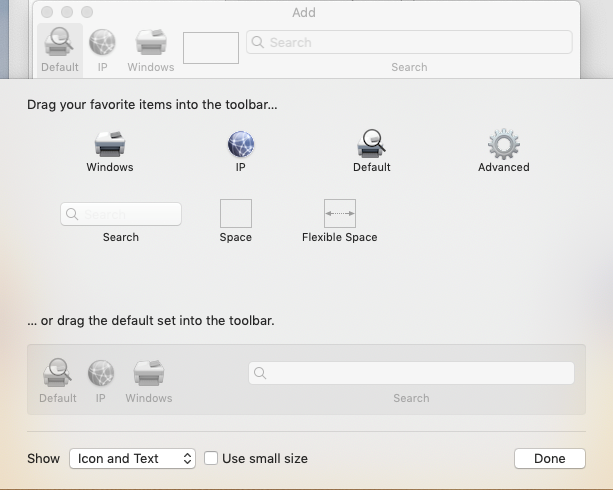
11. Drag "Advanced" to the menu bar and click "Done"
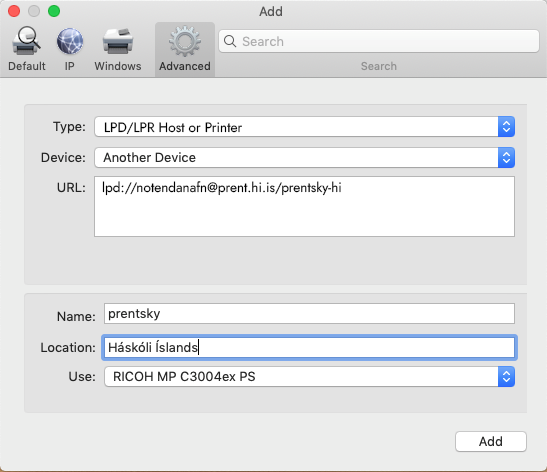
12. Click "Advanced" at the top of the window and type in the settings as listed below.
- Type: LPD/LPR Host or Printer
- Device: Another Device
- URL: Insert this URL lpd://notendanafn.prent.hi.is/prentsky-hi (NOTE that instead of "notendanafn" inside the URL you type in your own username so it would look something like "lpd://blaerblondal.prent.hi.is/prentsky-hi")
- Name og Location: You can type in what you want here.
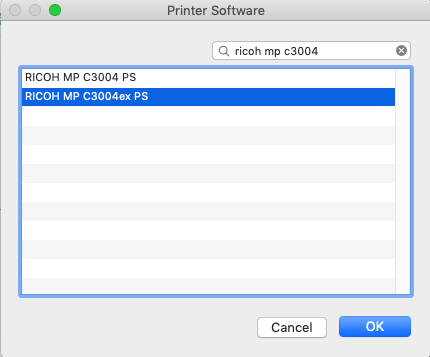
- Use: Choose "Select Software...". A window will open which can be seen in the next step.

13. Choose the driver RICOH MP C3004ex PS and click "OK"
14. Click "Add"
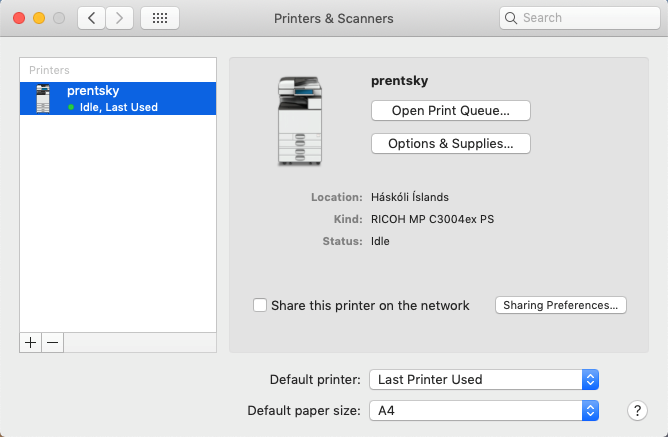
15. The printer has been setup
17. Default setting is grayscale, printed on both sides so you need to change the settings if you want it any other way. The first time you print you need to go to the printer and follow the instructions on the poster to enable the card or keyfob (the same you use to enter buildings). Next time you print you can walk up to any optima printer at UI and scan your card or keyfob and the document should print out, if you don't have your card/keyfob you can enter your ugla username and password instead.