Below are instructinos for setting up EndNote on Windows. The screenshots show the setup process for EndNote X9 but the installation process is more or less the same for other versions of EndNote.
1) Start by downloading the EndNote set up file on Ugla, as shown here: EndNote
2) Unzip the EndNote file you downloaded from Ugla. One way to unzip is to right-click the .zip file, choose "Extract All..." and then click on "Extract" in the window that opens.

Note that this can look different on your personal computer. Another way to unzip is to open the folder and simply drag both of the files it contains to your desktop or another folder.
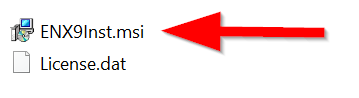
3) After unzipping you should have two files, an Endnote installer file and License.dat. Double-click on the Endnote installer file:
4) Click "Next":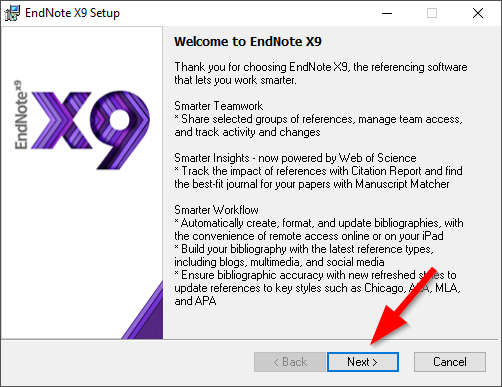
5) Click "Accept":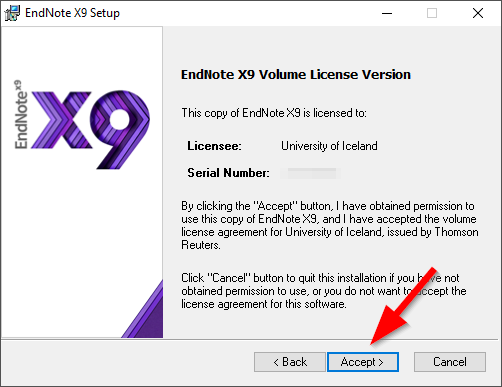
6) Click "Next":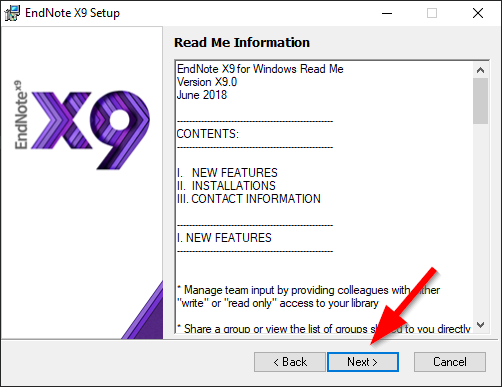
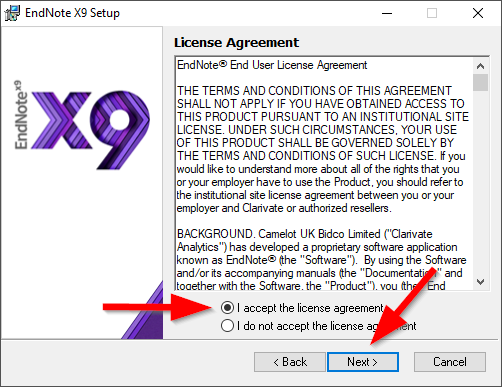
7) Choose "I accept the license agreement" and then click "Next":
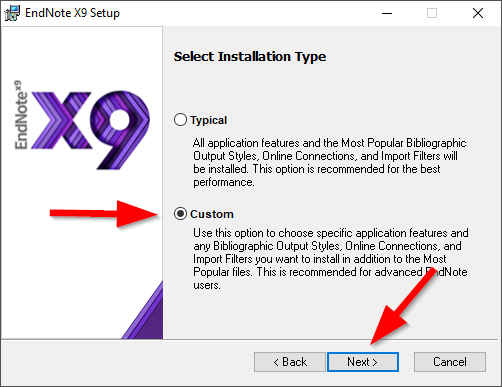
8) Choose "Custom" and then click "Next":
9) Click "Next":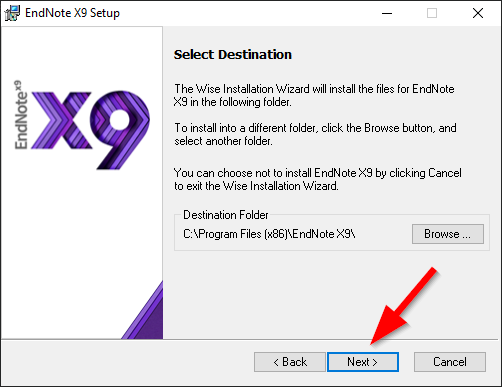
10) Click on the icon to the left of "EndNote for Windows" and choose "Entire feature will be installed on local drive." Then click "Next":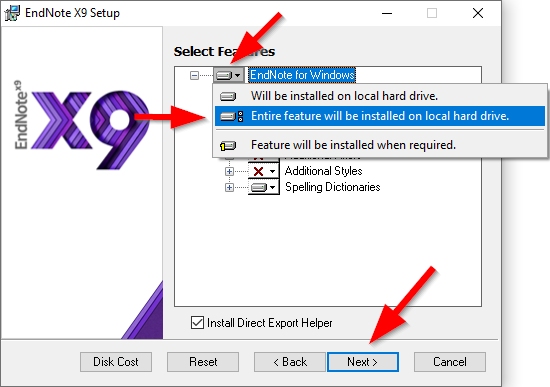
11) Click "Next":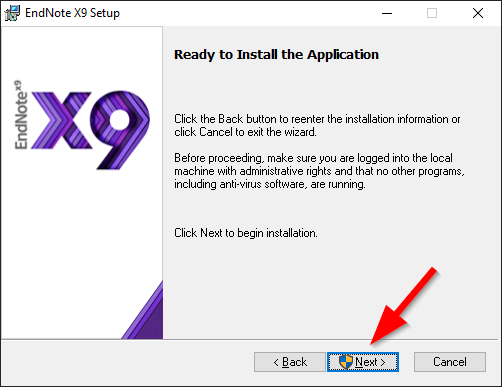
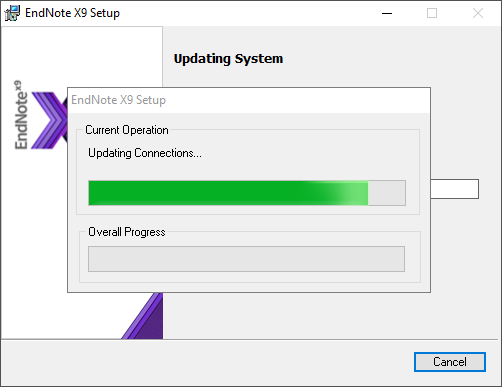
12) Wait while EndNote is being installed. You might be prompted to close Office applications.
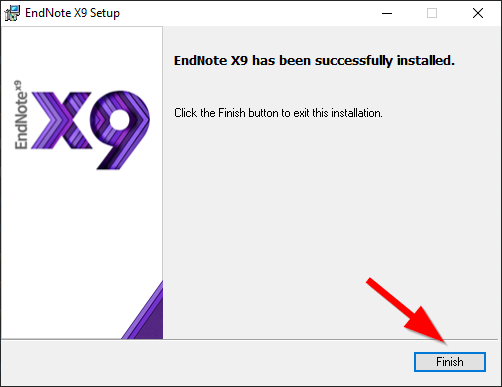
13) EndNote should now be ready for use on your computer. Click "Finish":