
If the automatic installation for Windows 10 does not work you can set eduroam up manually as shown below. We recommend trying the automatic installation first: Eduroam for Windows 10
Root certificate setup:
First you need to get the HÍ root certificate on the computer.
1) Push the button below to get the root certificate:
2) Click on the file you downloaded and then click "Open":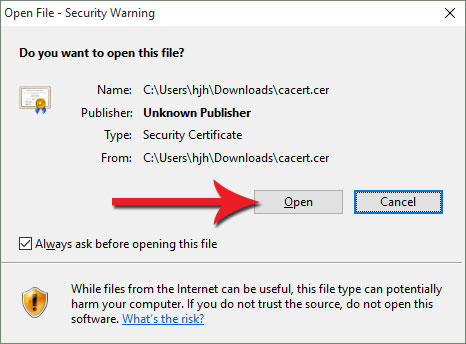
3) Click "Install Certificate":
4) Tick "Local Machine" and click "Next": (You could get a Windows security warning, then click "Yes"):
5) Tick "Place all certificates in the following store" and click "Browse":
6) Find "Trusted Root Certification Authorities", tick it and click "OK". Then the window should look like the one above (step 5). Click "Next":
7) Click "Finish":
8) Then this window telling you the root certificate import was successful should appear:
Eduroam setup:
Now that the root certificate has been installed you can start setting up the eduroam connection manually. That's done like this:
9) First you need to open "Network and Sharing Center". You can do that by going into the "Start" menu and write "Network and Sharing Center" and click on it when it appears on the list. Or you can right click on the network icon in the bottom right corner on the desktop and choose "Network and Sharing Center":
10) Click "Set up a new connection or network":
11) Click "Manually connect to a wireless network" and then click "Next". If you don't see this option make sure the wireless network card is enabled:
12) Put in these information:
- Network name: eduroam
- Security type: WPA2-Enterprice (WPA2)
- Encryption type: AES
- Tick "Start this connection automatically"

13) Click "Change connection settings":
14) Tick "Connect automatically when this network is in range". Then click the "Security" tap:
15) Make sure the setting are as follows:
- Security type: WPA2-Enterprise
- Encryption type: AES
- Network authentication: Microsoft: Protected EAP (PEAP)
- Tick "Remember my credentials..."
Then click "Settings":

16) In this window do the following:
- Tick "Verify the server's identity by validating the certificate"
- Tick "Connect to these servers..."
- Write in the field: edurad1.rhi.hi.is;edurad2.rhi.hi.is
- Find in the list and tick: University of Iceland Certificate Authority
Then click "Configure...":

17) Make sure the box is not ticked. Then click "OK":
18) Click "OK" again to get the window below.
19) Click "Advanced settings":
20) Tick "Specify authentication mode" and choose from the dropdown menu: "User or computer authentication". Then click "OK":
21) Type in your e-mail address (with @hi.is) and your password (the same you use for Ugla) and click "OK":
22) Click on OK three times and then close "Manually connect to a wireless network" by clicking on "Close":
23) Now eduroam is ready. Next time you're in reach of the eduroam network you can connect as shown in step 7 onwards here: Eduroam fyrir Windows 10