Below are instructions for setting up ArcGIS Desktop on Windows. You should have already downloaded and unzipped the ArcGIS setup files from Ugla, as shown here: ArcGIS.
1) Click on the file "Setup.exe" in the folder with the unzipped files (note that you will get an error message if you click on the file in the .zip folder):
2) Click "Next":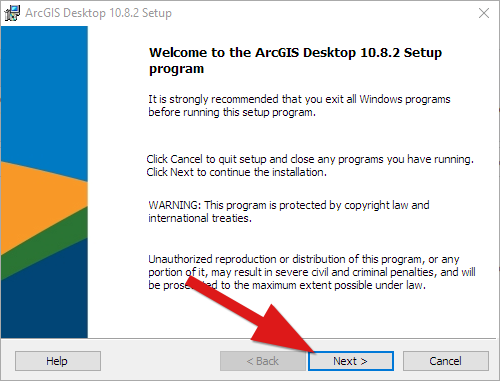
3) Agree to the terms and click "Next":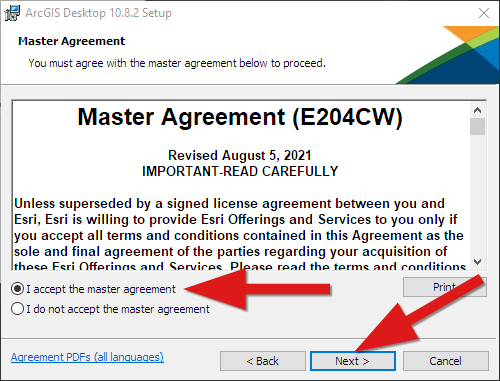
4) Choose "Complete" and click "Next":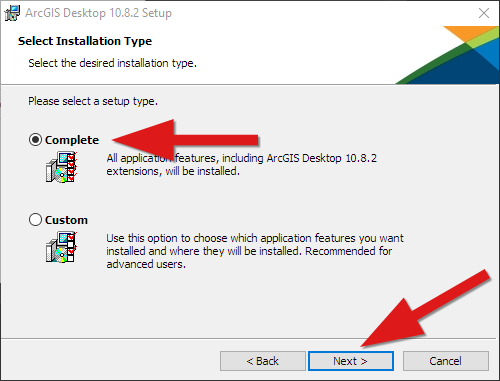
5) Here you can change the save location for ArcGIS if you want. Click "Next" to continue: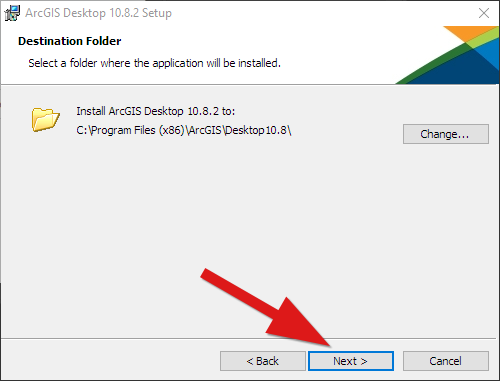
6) Here you can choose the save location for Python. Use the default location or change it if you want, then click "Next":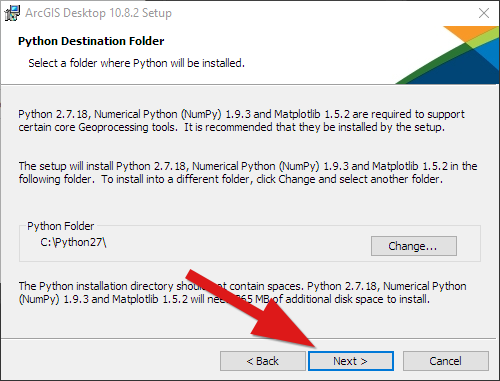
7) Click "Install":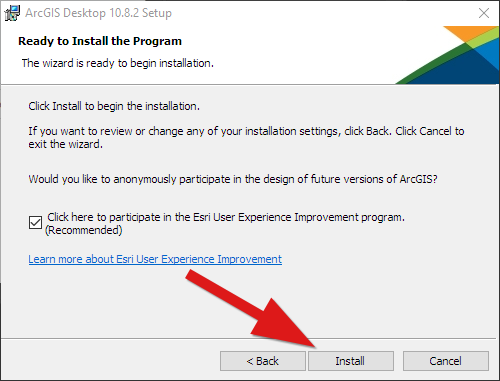
8) Click "Finish":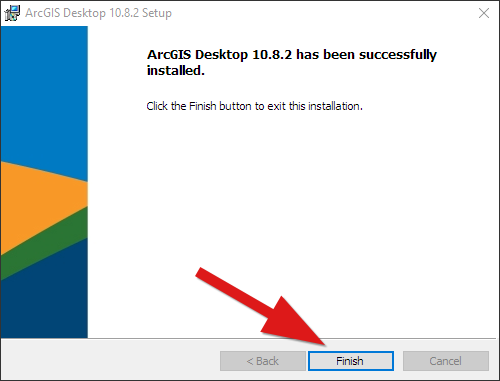
9) This window will appear the first time ArcGIS is opened. Choose "Advanced Single Use" and click "Authorize Now":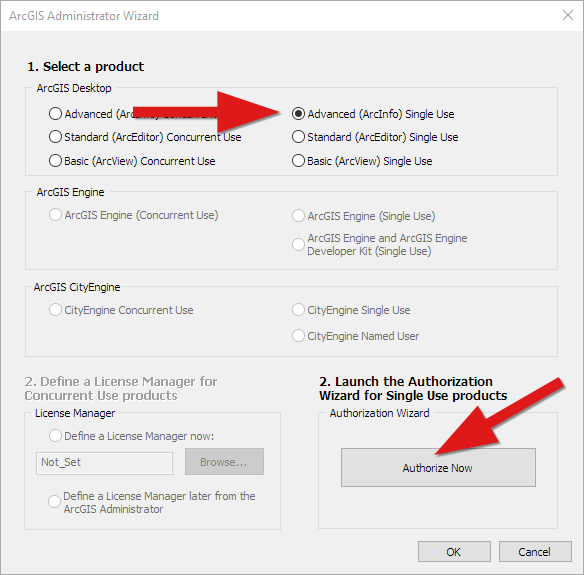
10) Choose the option "I have received an authorization file...". Click "Browse..." and find the file called "EducationSiteArcGISPro_SingleUse_1134591.prvc" in the setup folder (see step 1). Then Click "Next":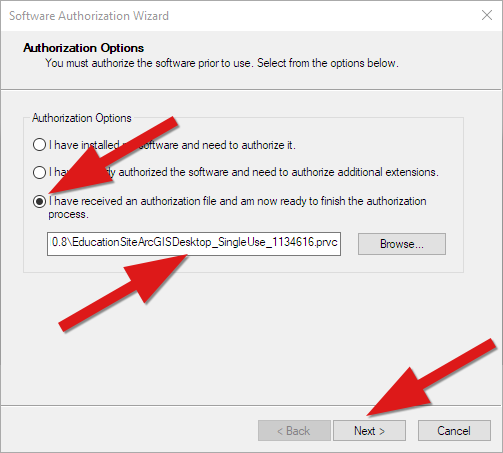
11) Choose "Authorize with Esri now..." and click "Next":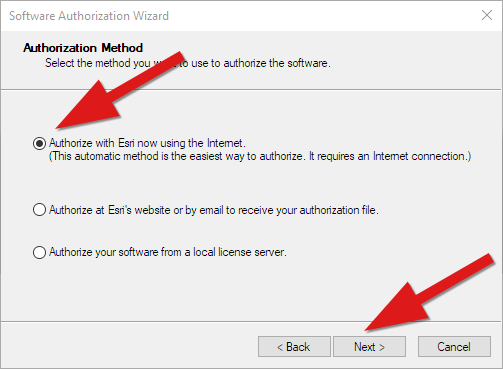
12) Fill out your information and click "Next":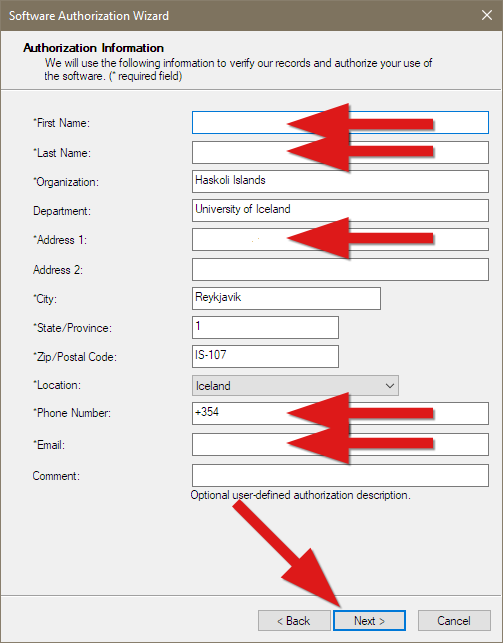
13) Choose your categories in the drop-down lists and then click "Next":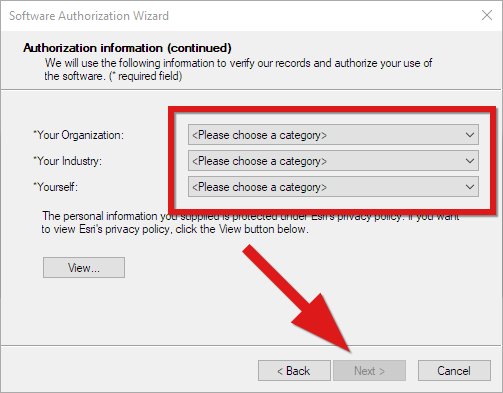
14) Click "Next":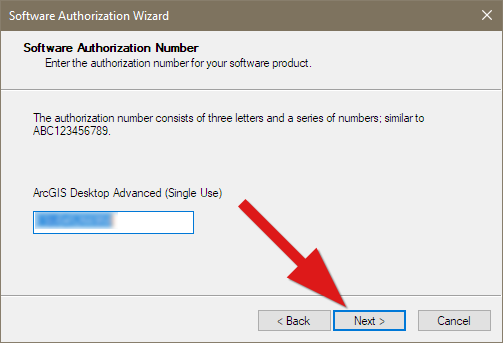
15) Click "Next":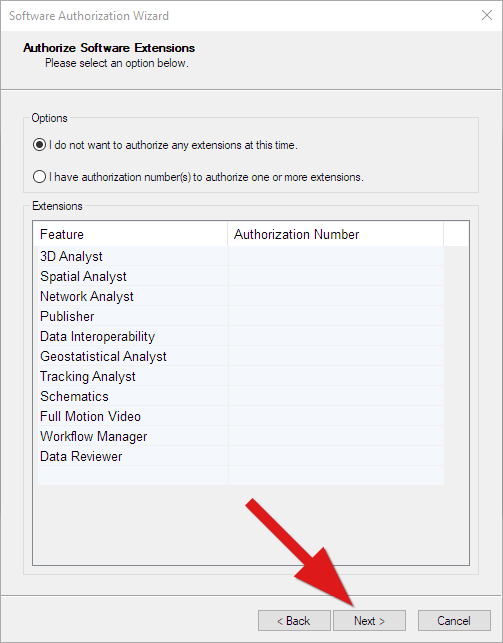
16) Click "Next":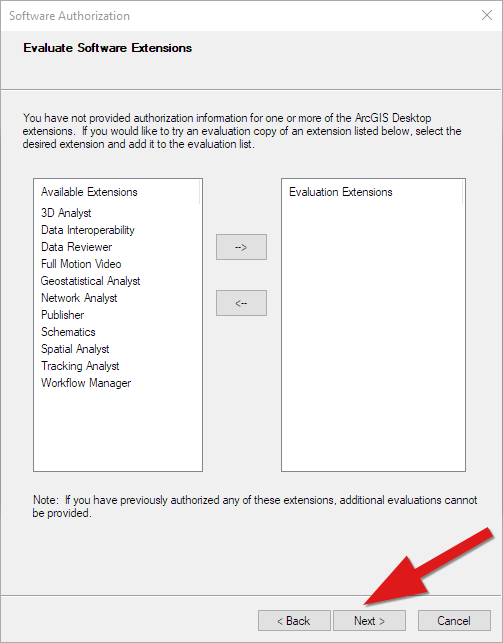
17) Click "OK":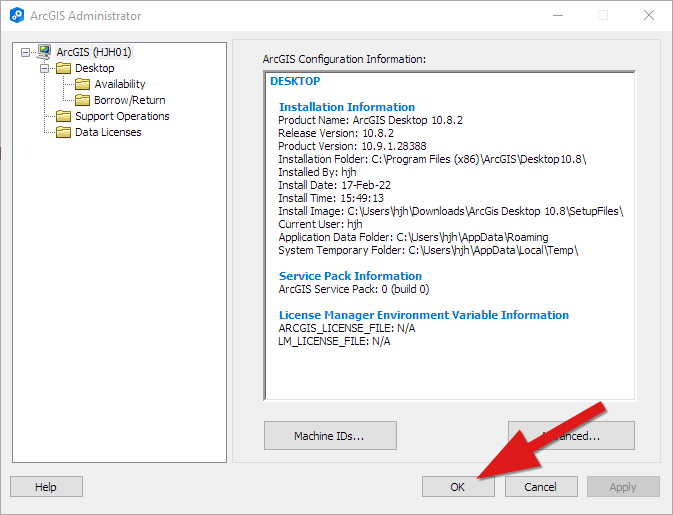
18) This step can take a while. Once the authorizing process has completed, click "Finish":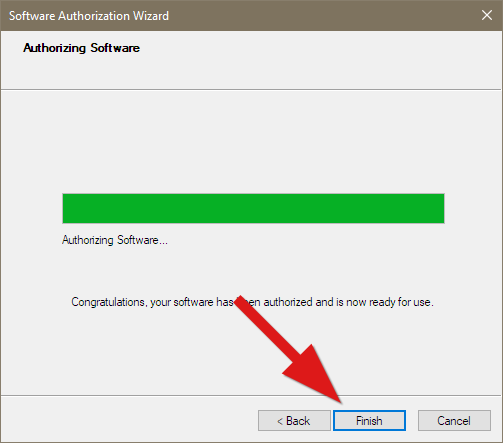
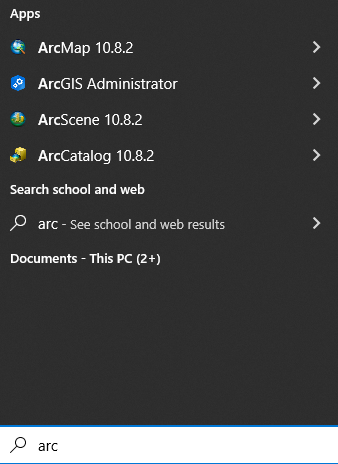
19) ArcGIS Desktop should now be ready for use. If you search for "arc" in Start you should see the programs included in ArcGIS Desktop, f.ex. ArcMap.
