To install OneDrive on a MacOS computer, start by logging into office365.hi.is
1) When you get there you will see a list of available programs. Select "OneDrive":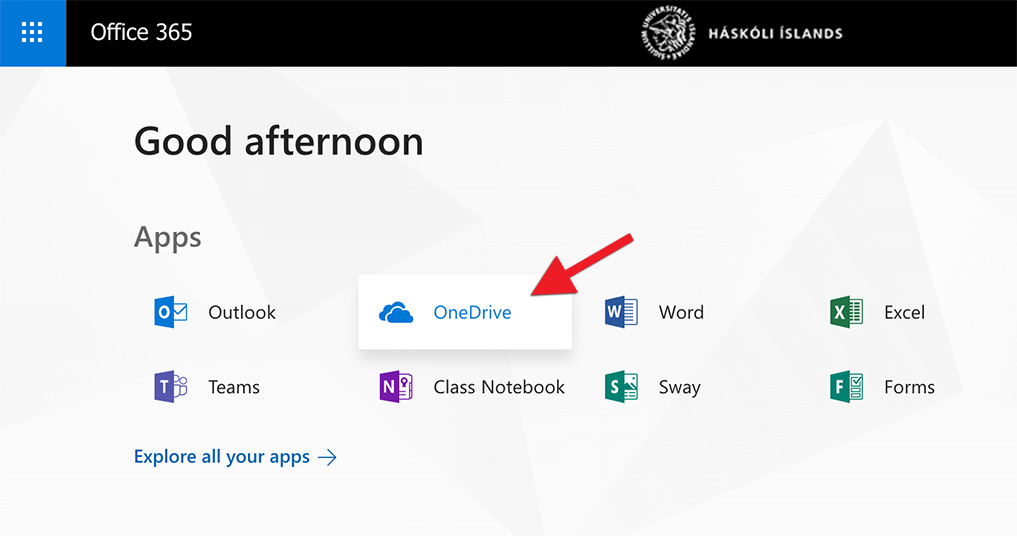
2) Click "Get the OneDrive apps" in the lower left corner:
3) Then a new tab opens. Click "Download":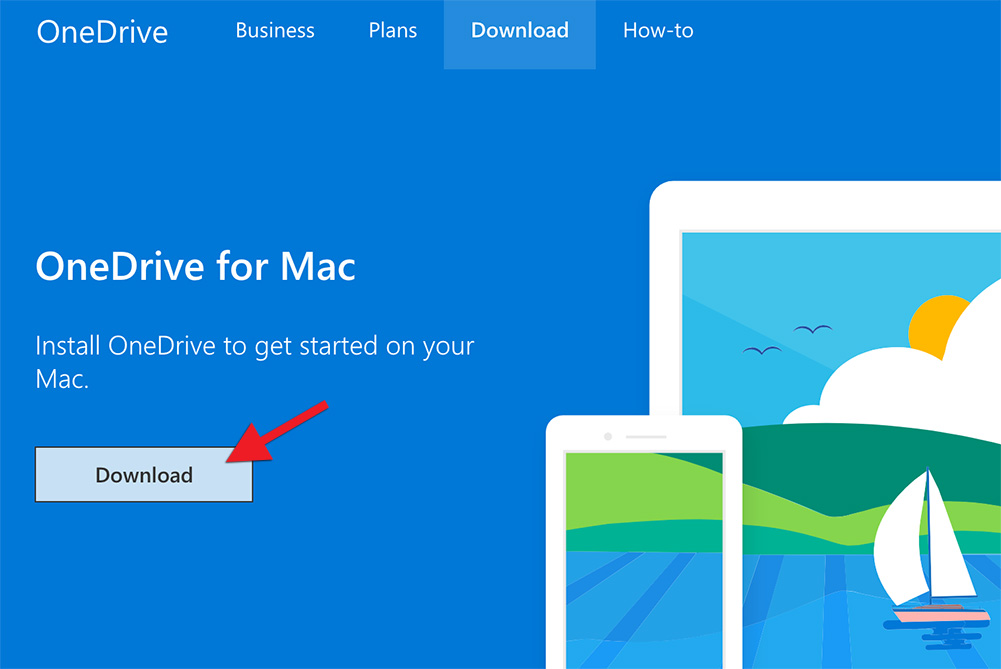
4) Then another window opens and you click "View in Mac App Store":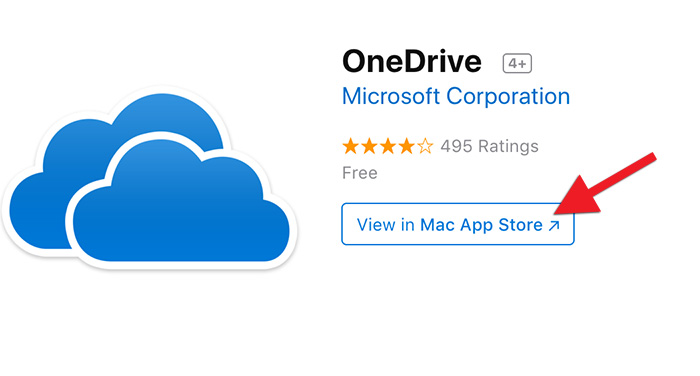
5) Now select "Get":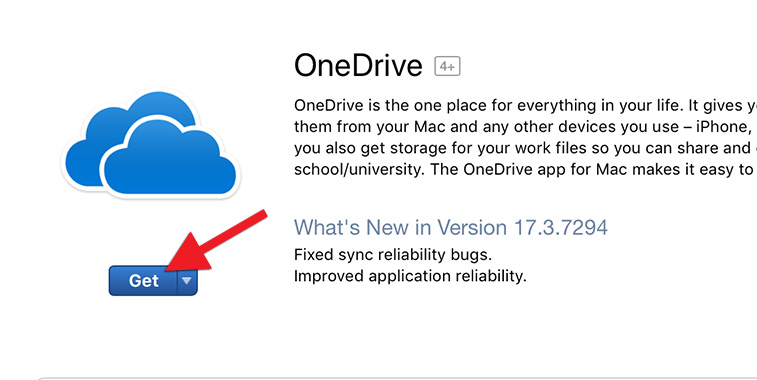
6) Now you need to accept by entering the password for your iCloud account. Then OneDrive starts downloading, it can take a while:
7) When installation is complete, click "Open":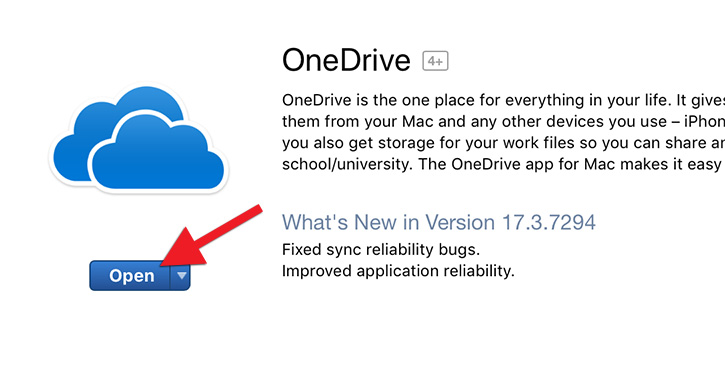
8) In the upper right corner of the screen, a "OneDrive" cloud-icon appears. Click on it: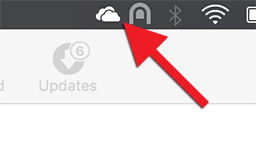
9) The "Set up OneDrive" window appears. There you write your UI email address and click "Sign in":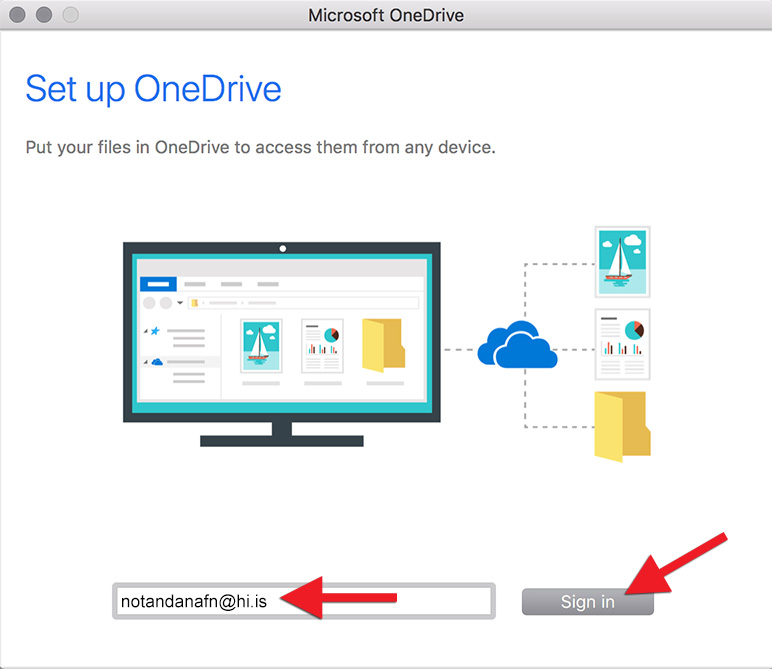
10) Now another window appears and here you need to enter your UI password (same as for Ugla) and then click "Sign in":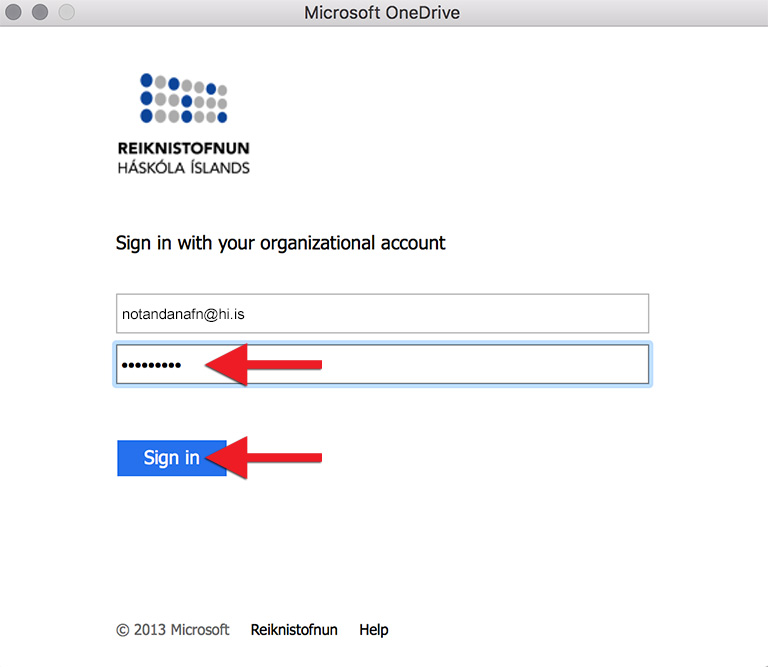
11) Here you select the location for your OneDrive folder. Here are all the documents you keep in the cloud. Most often, the "Documents" folder is selected. Click "Choose this location":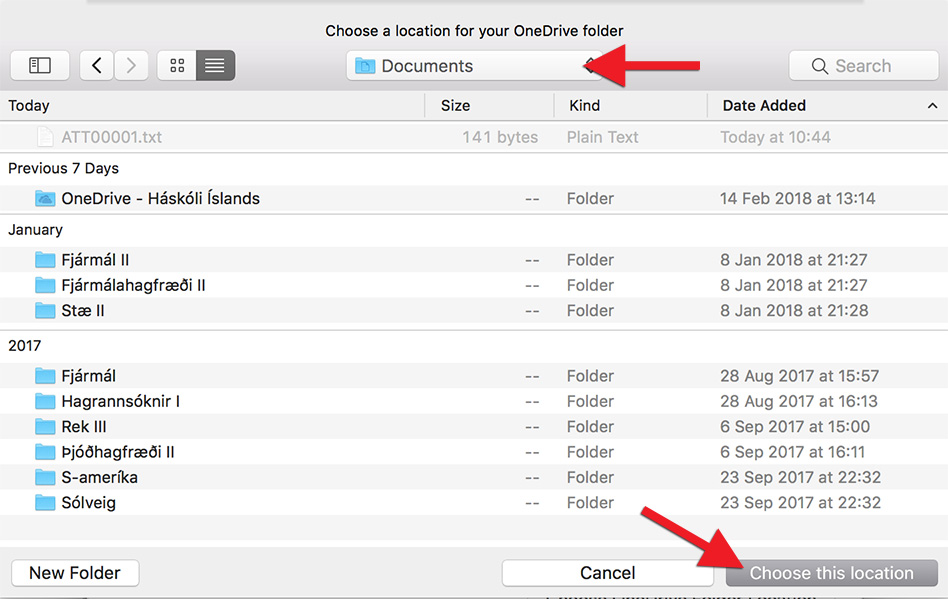
12) Here is the confirmation page for selecting the correct location. Click "Next":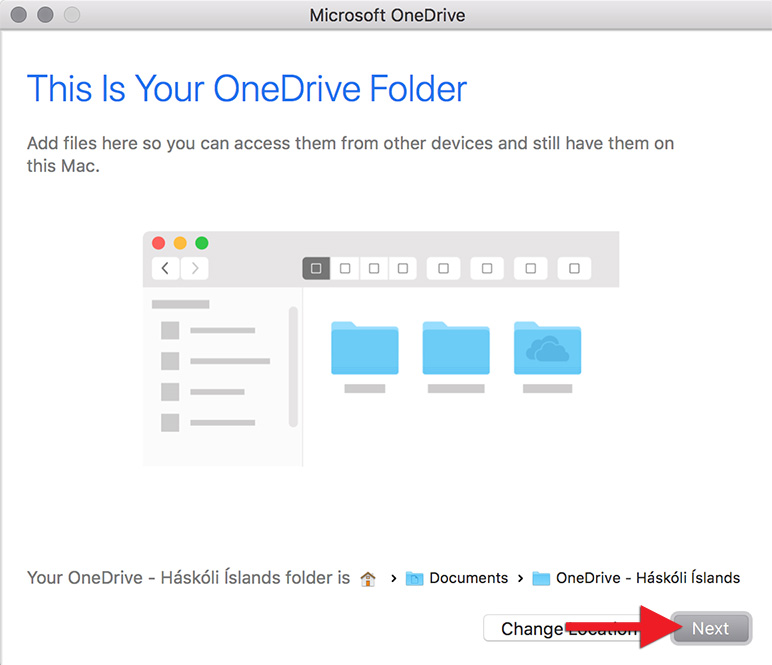
13) Check "Sync all files and folders in OneDrive - Háskóli Íslands". Then all files below will automatically be chosen. You can choose which folders you want sync with the cloud. Then click "Next":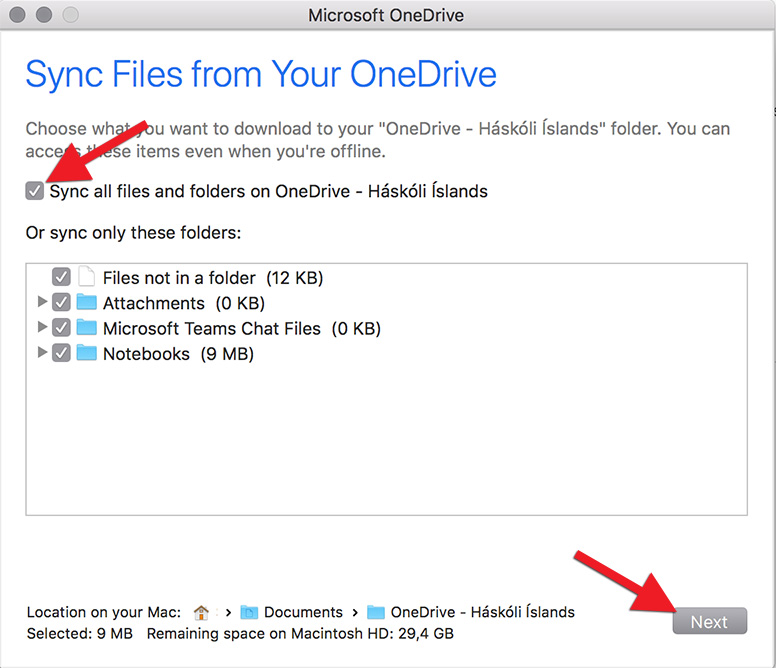
14) Check "Open at login so my files sync automatically" so that the OneDrive always operates behind the scenes when the machine is on (that's what you want). Then press "Open my OneDrive - Háskóli Íslands folder":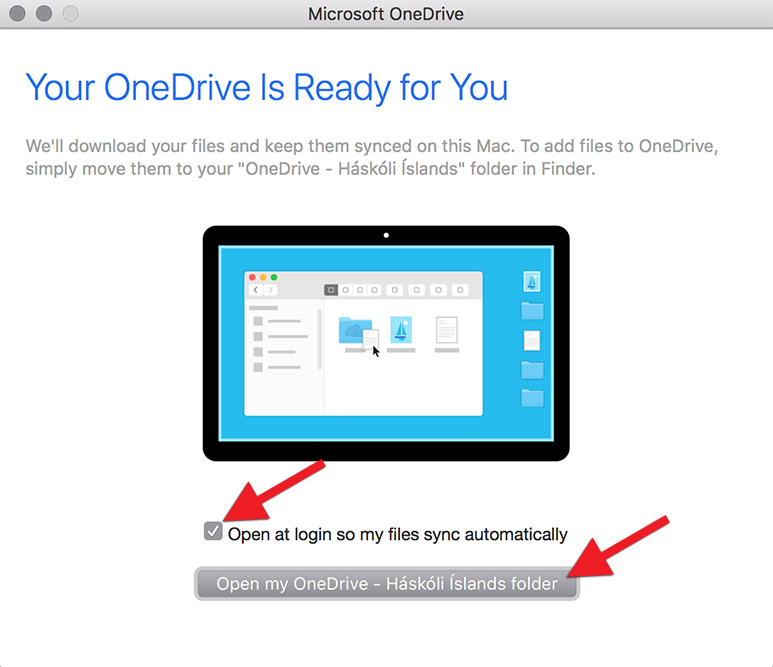
15) OneDrive is ready. You will find the OneDrive folder in "Finder". Its name is "OneDrive - Háskóli Íslands".

