Below we show you how to install OneDrive in Windows.
On Windows we assume you already have OneDrive installed since it comes with the Office 365 package. If you have not installed it, you'll find instructions on how to do it here: Download and installation of the Office 365 package for Windows 10
1) Start by finding and opening OneDrive on your computer, you can go to the Start button (Windows icon) in the lower left hand corner and write OneDrive: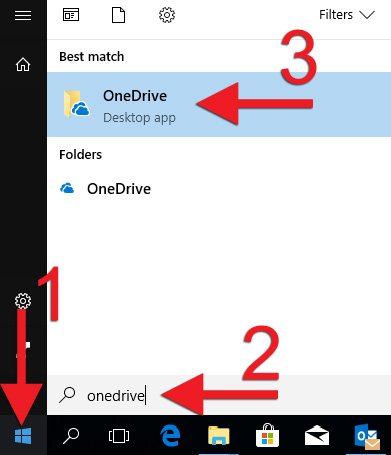
2) Write your UI email address and click "Sign in":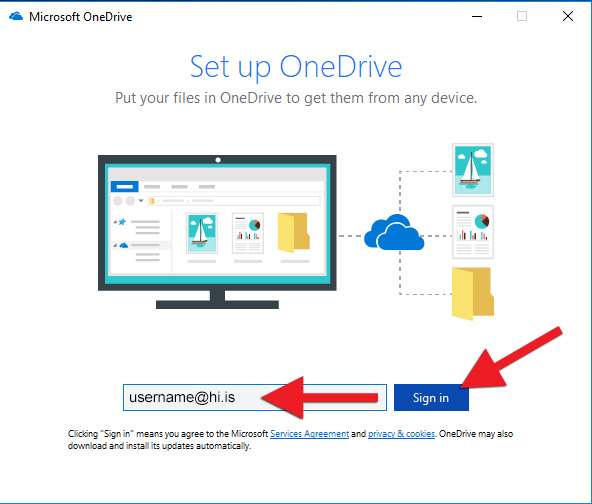
3) If you see this window, select "Work or school":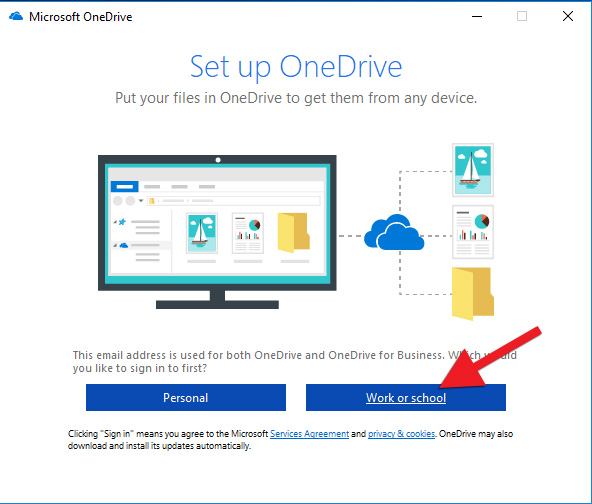
4) Type in your password and click "Sign in":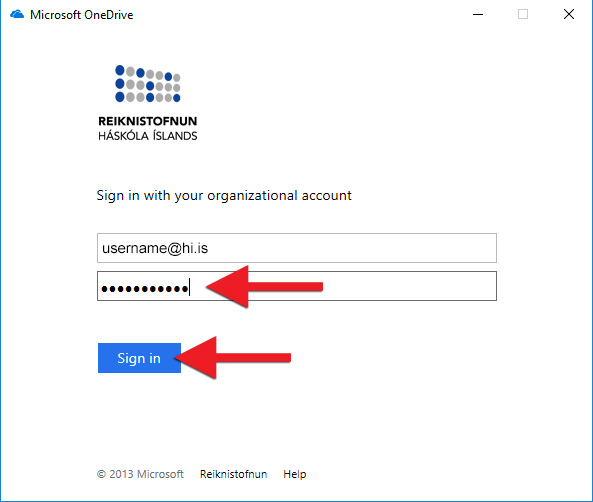
5) Here you can change the location of where you want to store the data for OneDrive. If you want to change it click "Change location". When you are done or want to use the default location click "Next":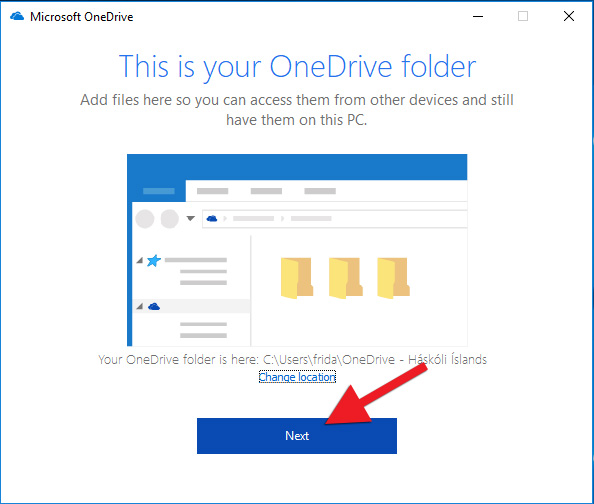
6) Here you can choose which folders you want to sync to your computer. Select folders to sync then click "Next":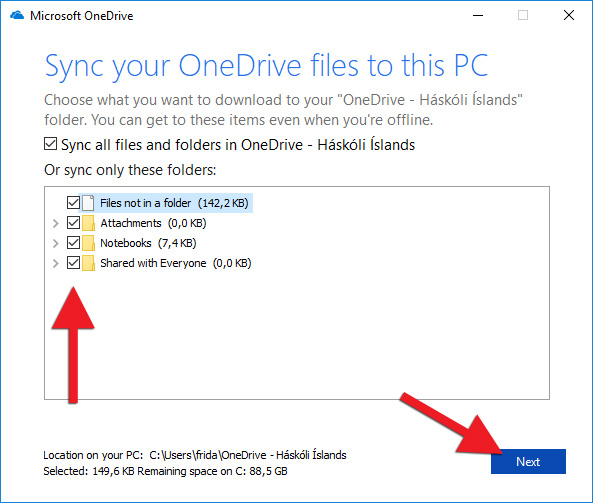
7) Click three times on the arrow in the right corner: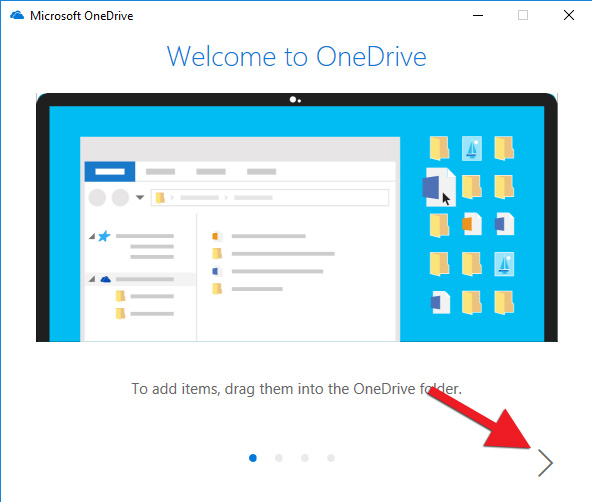
8) Click "Open my OneDrive folder":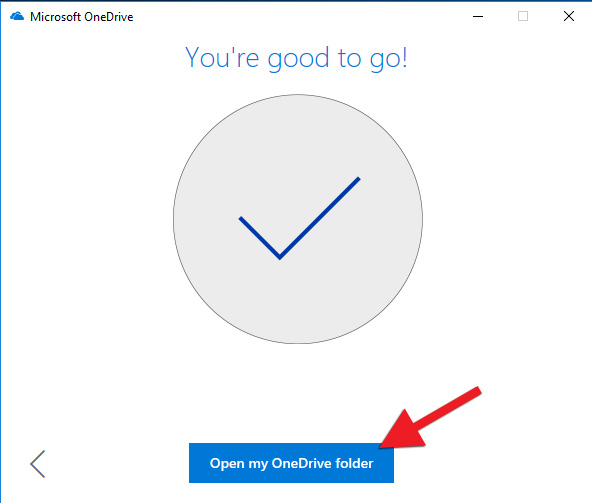
9) The OneDrive folder opens. On the right you will notice your OneDrive folder. You work with this folder like any other hard drive or folder and it syncs automatically to your online OneDrive: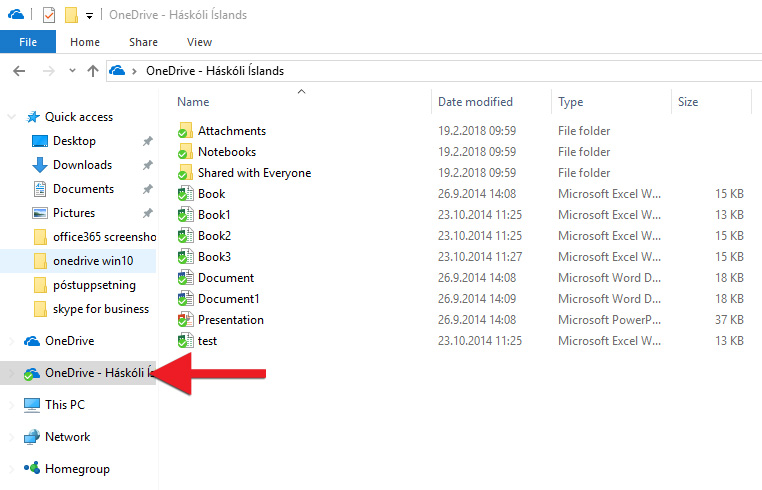
Everything you save or change here is now also available online and other devices that are running OneDrive.

