
If the automatic installation for Windows 7 does not work you can set eduroam up manually as shown below. We recommend trying the automatic installation first: Eduroam for Windows 7
Root certificate setup:
First you need to get the HÍ root certificate on the computer.
1) Push the button below to get the root certificate:
2) Tick "Open with" and then click "OK":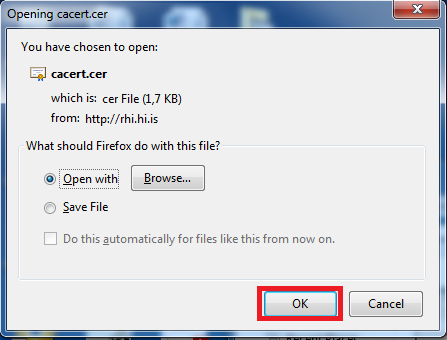
3) Click "Open":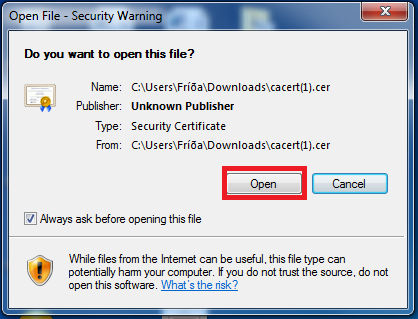
4) Click "Install Certificate":
5) Click "Next":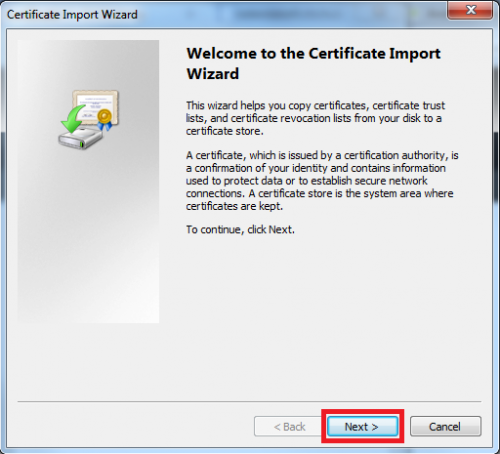
6) Tick "Place all certificates in the following store" and click "Browse":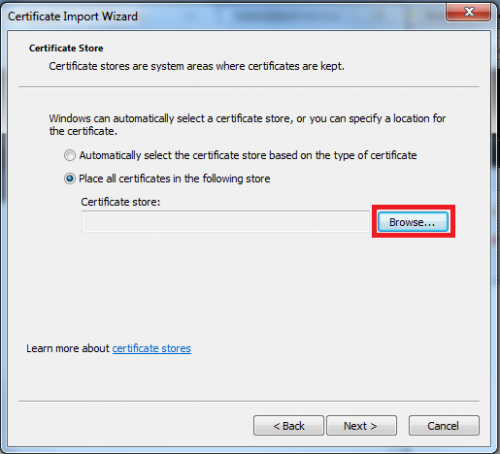
7) Find "Trusted Root Certification Authorities", choose it and click "OK":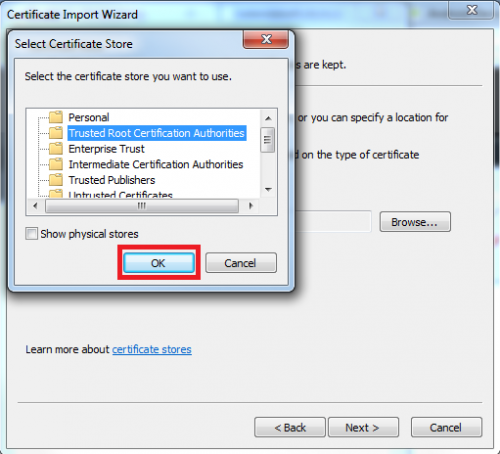
8) You should see: "Trusted Root Certification Authorities" under "Certificate store". Click "Next":
9) Click "Finish":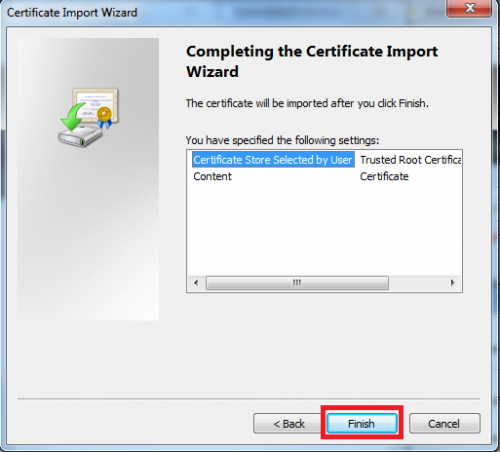
10) The import was successful. Click "OK":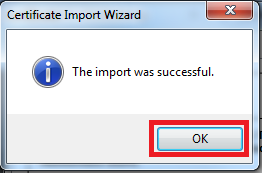
11) You'll get a security warning. Click "Yes":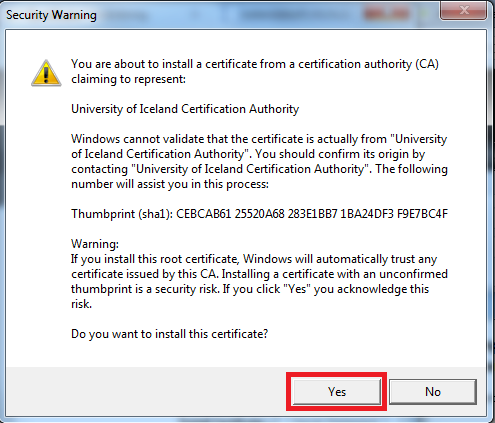
Eduroam setup:
Now you've installed the root certificate and you can begin setting up the eduroam connection manually. You do it like this:
12) First you need to open "Network and Sharing Center". You do that by right clicking on the network icon in the lower right corner and click "Network and Sharing Center":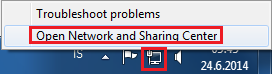
13) Click "Manage Wireless Networks". If you don't see this option, make sure the wireless network card is enabled: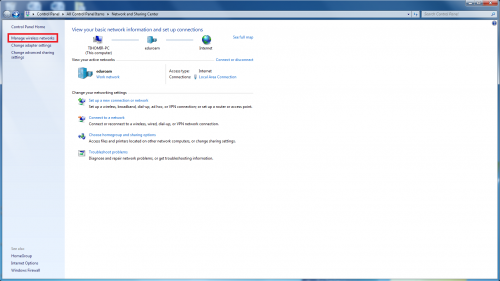
14) Click "Add: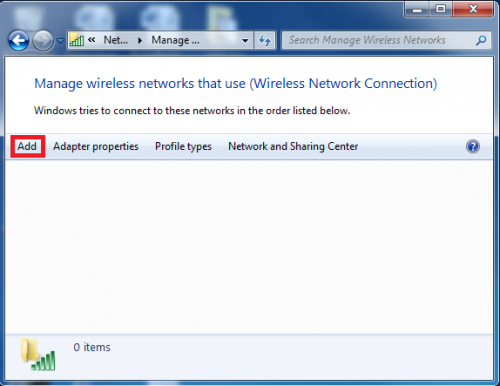
15) Click "Manually create a network profile":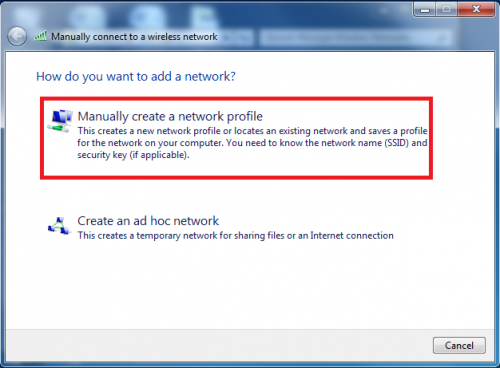
16) Put in those information:
- Network name: eduroam
- Security type: WPA2-Enterprice (WPA2)
- Encryption type: AES
- Tick "Start this connection automatically"
Then click "Next":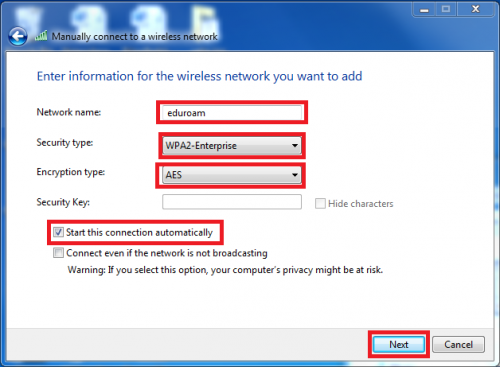
17) Click "Change connection settings":
18) Make sure the settings are as follows:
- Security type: WPA2-Enterprise
- Encryption type: AES
- Network authentication: Microsoft: Protected EAP (PEAP)
- Tick "Remember my credentials..."
Then click "Settings":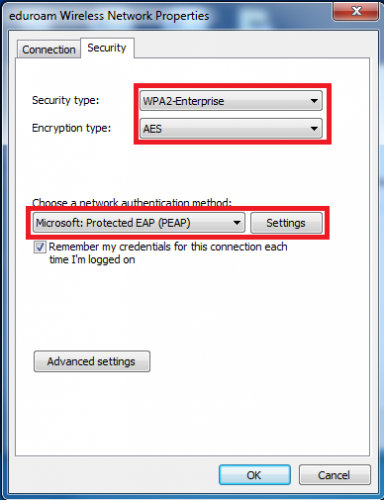
19) In this window do the following:
- Tick "Validate server certificate"
- Tick "Connect to these servers:"
- In the field type: edurad1.rhi.hi.is;edurad2.rhi.hi.is
- In the list tick: University of Iceland Certificate Authority
Then click "Configure...":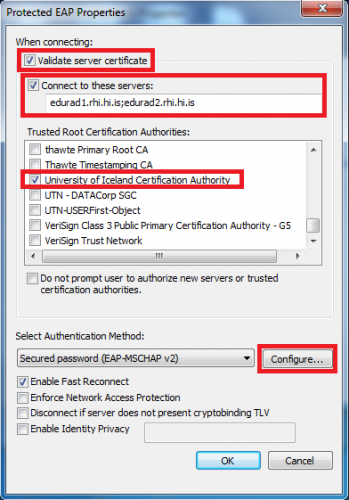
20) Make sure the box is not ticked. Then click "OK":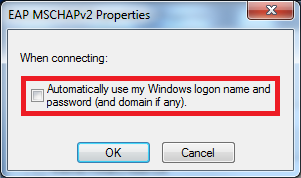
21) Then click "OK" again to get the window below.
22) Click "Advanced settings":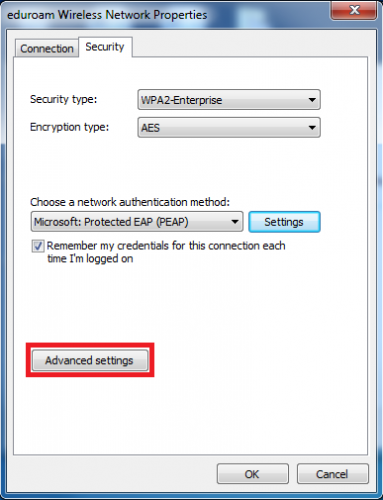
23) Tick "Specify authentication mode" and choose "User or computer authentication" from the dropdown menu. Then click "OK":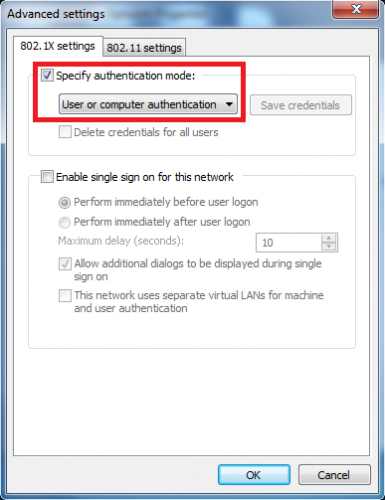
24) Click "OK" twice and on "close" on "Manually connect to a wireless network".
25) Now eduroam is ready. The next time you're in reach of the eduroam network you can connect the computer as shown below:
Connect to eduroam:
26) To connect you click the network icon in the lower right corner and choose "eduroam" and click "Connect":
27) You are asked to authenticate, put your HI e-mail address in the top field and your password in the lower field and click "OK". Then you should connect to eduroam:
Please go to the IT Help Desk on Háskólatorg or Hamar if you have problems connecting after installation or if you are not able to finish the installation.